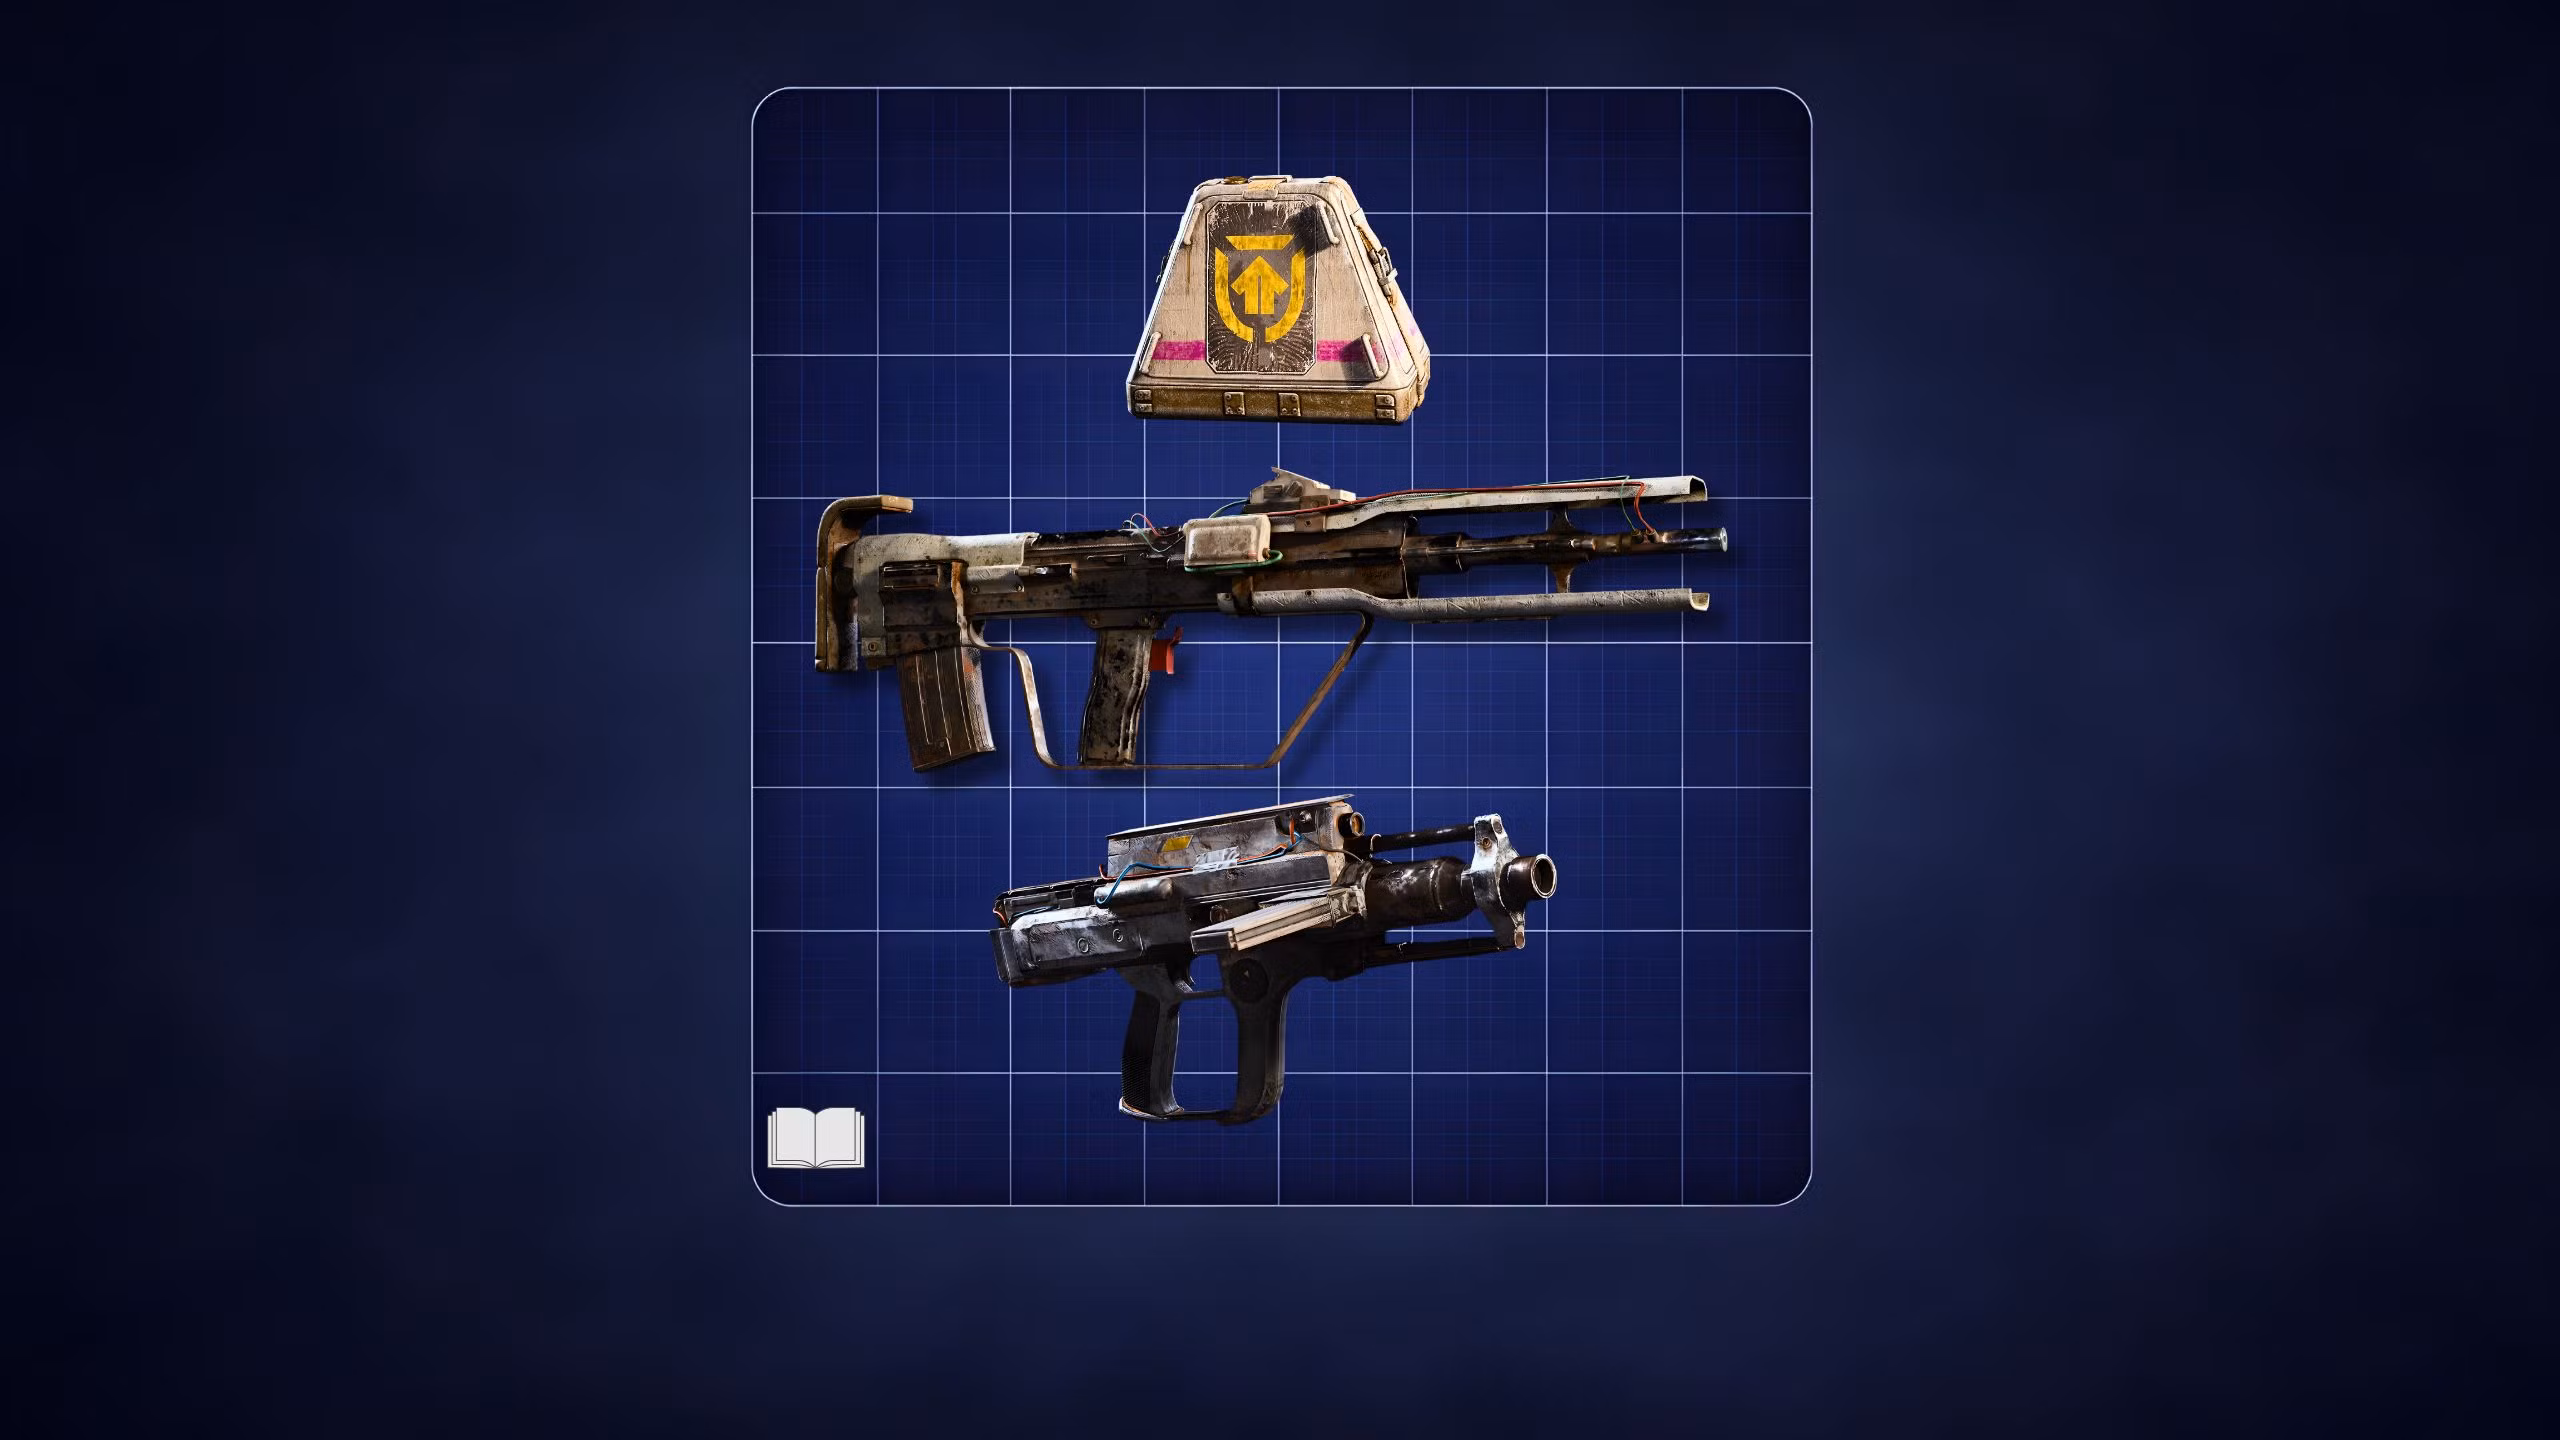
ARC Raiders: All 74 Blueprints — Complete Locations Guide (2026)
If you've been grinding topside and still missing half your blueprint collection, you're not alone. ARC Raiders has 74 active blueprints spread across multiple maps, events, quests, and Trials — and finding them without a guide is genuinely painful. This is the only list you'll ever need.
We've organized every single blueprint by category, numbered them 1 through 74, and added exactly where to find each one, what event you need (if any), and the best containers to target. Bookmark this page. You're going to come back to it.
📌 How Blueprints Work — Quick Reminder
Before the list, here's what every Raider needs to know:
- Drop rate is approximately 1.3% per container opened — low, but consistent
- Night Raids & Electromagnetic Storms increase rare loot chances significantly
- Once found topside, select "Learn and Consume" — the recipe is then permanently unlocked in your Workbench
- Duplicate blueprints sell for 5,000 Coins
- 74 blueprints are currently active — 3 additional ones exist in the game files but remain locked for now
- Best general farming maps: Dam Battlegrounds, Blue Gate, Buried City, Stella Montis, Spaceport
🗺️ Best Loot Spots by Map
🗺️ Map🏆 Best POIsDam Battlegrounds | Testing Annex, Research & Admin, Power Generation Complex, Hidden West Broken Bridge
Blue Gate | Underground Confiscation Room, Pilgrim's Peak, Village Center
Buried City | Space Travel Building, Hospital, Plaza Rosa, Library, Red Tower Apartments
Stella Montis | Assembly Workshops, Loading Bay, Cultural Archives (top layer)
Spaceport | Control Tower A6, Launch Tower, Arrival Building, Hidden Bunker
🔫 WEAPONS BLUEPRINTS (14)
1. 🔫 Anvil
- Type: Heavy Revolver
- Where: Random drop, all maps
- Best Spots: Dam Battlegrounds Power Generation Complex, Blue Gate Confiscation Room weapon cases
- Event Required: ❌ None (Night Raid / Storm recommended)
2. 🔫 Aphelion
- Type: Legendary Battle Rifle
- Where: Stella Montis only + Matriarch boss core loot
- Best Spots: Stella Montis Cultural Archives & Medical Research top layers — Night Raid or Cold Snap
- Event Required: ✅ Matriarch world event (any map she spawns on) OR Night Raid on Stella Montis
3. 🔫 Bettina
- Type: Heavy Auto Rifle
- Where: Random drop, all maps
- Best Spots: Dam Battlegrounds Testing Annex weapon cases, Buried City apartments during Night Raids
- Event Required: ❌ None
4. 🔫 Bobcat
- Type: Epic SMG
- Where: Blue Gate only — during the Locked Gate dynamic event
- Best Spots: Blue Gate underground tunnels & checkpoint area once the Gate opens
- Event Required: ✅ Locked Gate event only
5. 🔫 Burletta
- Type: Early-Game Pistol
- Where: 🎯 Guaranteed quest reward — "Industrial Espionage" quest
- Best Spots: No farming needed — just complete the quest
- Event Required: ❌ Quest only
6. 🔫 Equalizer
- Type: Legendary Beam Rifle
- Where: Harvester / Queen boss event — loot the reactor core
- Best Spots: Blue Gate, Spaceport, Dam Battlegrounds when Harvester event is active
- Event Required: ✅ Harvester / Queen boss event only
7. 🔫 Hullcracker
- Type: ARC-Focused Grenade Launcher
- Where: 🎯 Quest reward — "The Major's Footlocker" (comes with launcher ammo blueprint)
- Best Spots: No farming — complete the quest
- Event Required: ❌ Quest only
8. 🔫 Il Toro
- Type: Shotgun
- Where: Random drop, all maps
- Best Spots: Blue Gate Village interiors, Buried City Plaza Rosa houses
- Event Required: ❌ None
9. 🔫 Jupiter
- Type: Legendary Long-Range Rifle
- Where: Harvester / Queen event reward + rare random drop via Trials
- Best Spots: Harvester event locations; Stella Montis high-tier rooms Night Raid
- Event Required: ✅ Harvester event OR high-tier Trials rotation
10. 🔫 Osprey
- Type: High-Damage Sniper
- Where: Random drop, all maps
- Best Spots: Spaceport Control Tower A6 & Launch Tower loot rooms, Dam Battlegrounds Testing Annex
- Event Required: ❌ None
11. 🔫 Tempest
- Type: Fast Auto Rifle
- Where: Random drop during Night Raids only
- Best Spots: Buried City Space Travel building — second-highest floor, left-side rooms
- Event Required: ✅ Night Raid condition required
12. 🔫 Torrente
- Type: LMG
- Where: Random drop, all maps
- Best Spots: Dam Battlegrounds Control Tower weapon cases, Buried City Red Tower apartments
- Event Required: ❌ None
13. 🔫 Venator
- Type: Aggressive Auto Weapon
- Where: Random drop, all maps
- Best Spots: Blue Gate Village, Buried City East Housing during Night Raids
- Event Required: ❌ None (Night / Storm improve odds)
14. 🔫 Vulcano
- Type: Semi-Auto Shotgun
- Where: Hidden Bunker event on Spaceport + random drops during that event
- Best Spots: Spaceport Hidden Bunker & Launch Tower chests when event is active
- Event Required: ✅ Hidden Bunker dynamic event only
🛠️ ATTACHMENTS & MODS BLUEPRINTS (22)
15. 🛠️ Angled Grip II
- Where: Random drop, all maps
- Best Spots: Blue Gate Village residential containers (suitcases, backpacks), Buried City Plaza Rosa
- Event Required: ❌ None
16. 🛠️ Angled Grip III
- Where: Random drop + Trials rotation
- Best Spots: High-tier Trials reward crates; Dam Battlegrounds Testing Annex Night Raid
- Event Required: ❌ None specific — Trials rotation helps
17. 🛠️ Vertical Grip II
- Where: Random drop, all maps
- Best Spots: Industrial lockers in Dam Battlegrounds Power Generation Complex, Spaceport Departure Building
- Event Required: ❌ None
18. 🛠️ Vertical Grip III
- Where: Random drop + Trials
- Best Spots: Trials reward crates; Stella Montis Assembly Workshops Night Raid
- Event Required: ❌ None
19. 🛠️ Compensator II
- Where: Random drop
- Best Spots: Weapon cases in Buried City Library & Plaza Rosa attics
- Event Required: ❌ None
20. 🛠️ Compensator III
- Where: Random drop + Trials
- Best Spots: High-tier Trials; Blue Gate Pilgrim's Peak containers Night Raid / Storm
- Event Required: ❌ None
21. 🛠️ Muzzle Brake II
- Where: Random drop
- Best Spots: Dam Battlegrounds Testing Annex; Buried City Hospital upper floors
- Event Required: ❌ None
22. 🛠️ Muzzle Brake III
- Where: Random drop + Trials
- Best Spots: Trials reward crates; Stella Montis Cultural Archives
- Event Required: ❌ None
23. 🛠️ Stable Stock II
- Where: Random drop
- Best Spots: Blue Gate underground Confiscation Room weapon cases
- Event Required: ❌ None
24. 🛠️ Stable Stock III
- Where: Random drop + Trials
- Best Spots: Dam Battlegrounds Ruby Residence apartments Night Raid; Stella Montis Loading Bay
- Event Required: ❌ None
25. 🛠️ Lightweight Stock
- Where: Random drop
- Best Spots: Buried City Space Travel Building & Santa Maria houses
- Event Required: ❌ None
26. 🛠️ Padded Stock
- Where: Random drop + Events
- Best Spots: Electromagnetic Storm raids on Dam Battlegrounds Ruby Residence & Blue Gate Village
- Event Required: ❌ None (Storm boosts drop rate)
27. 🛠️ Silencer I
- Where: Random drop
- Best Spots: Medical / commercial containers — Buried City Hospital, Blue Gate reinforced areas
- Event Required: ❌ None
28. 🛠️ Silencer II
- Where: Random drop + Trials
- Best Spots: High-tier Trials; Spaceport Arrival Building breach rooms
- Event Required: ❌ None
29. 🛠️ Shotgun Choke II
- Where: Random drop
- Best Spots: Dam Battlegrounds Power Generation Complex; Blue Gate reinforced reception
- Event Required: ❌ None
30. 🛠️ Shotgun Choke III
- Where: Random drop + Trials
- Best Spots: Trials; Stella Montis Assembly Workshops Night Raid
- Event Required: ❌ None
31. 🛠️ Shotgun Silencer
- Where: Event-favored random drop
- Best Spots: Cold Snap / Electromagnetic Storm on Blue Gate & Dam Battlegrounds
- Event Required: ✅ Cold Snap or Storm condition strongly recommended
32. 🛠️ Extended Light Mag II
- Where: Random drop
- Best Spots: Blue Gate Village residential containers; Buried City New District caches
- Event Required: ❌ None
33. 🛠️ Extended Light Mag III
- Where: Random drop
- Best Spots: Same as Mk.II — Night Raid improves rate
- Event Required: ❌ None
34. 🛠️ Extended Medium Mag II
- Where: Random drop
- Best Spots: Dam Battlegrounds Hidden Broken Bridge cache; Spaceport Control Tower A6
- Event Required: ❌ None
35. 🛠️ Extended Medium Mag III
- Where: Random drop + Trials
- Best Spots: High-tier Trials; Stella Montis Cultural Archives top floor
- Event Required: ❌ None
36. 🛠️ Extended Shotgun Mag II
- Where: Random drop
- Best Spots: Dam Battlegrounds Testing Annex; Stella Montis Loading Bay lockers
- Event Required: ❌ None
37. 🛠️ Extended Shotgun Mag III
- Where: Random drop + Trials
- Best Spots: High-tier Trials; Buried City Red Tower weapon cases
- Event Required: ❌ None
38. 🛠️ Extended Barrel
- Where: Random drop
- Best Spots: Buried City Red Tower & Plaza Rosa high-tier raider caches
- Event Required: ❌ None
39. 🛠️ Anvil Splitter (Legendary Mod)
- Where: Random drop — very rare
- Best Spots: Electromagnetic Storm Night Raids — Dam Battlegrounds, Blue Gate Village, Buried City apartments
- Event Required: ✅ Storm + Night Raid strongly recommended
💣 GRENADES, MINES & UTILITY BLUEPRINTS (16)
40. 💣 Blaze Grenade
- Where: Random drop + events
- Best Spots: Explosive / industrial containers in Dam Battlegrounds & Spaceport
- Event Required: ❌ None
41. 💣 Explosive Mine
- Where: Random drop
- Best Spots: Dam Battlegrounds Testing Annex; Blue Gate underground
- Event Required: ❌ None
42. 💣 Gas Mine
- Where: Random drop
- Best Spots: Industrial POIs — Power Generation Complex, Spaceport Departure Building
- Event Required: ❌ None
43. 💣 Pulse Mine
- Where: Random drop
- Best Spots: Blue Gate tunnels weapon cases; Buried City Library basement
- Event Required: ❌ None
44. 💣 Jolt Mine
- Where: Random drop — event-favored
- Best Spots: Electromagnetic Storm runs on Dam Battlegrounds Ruby Residence; explosive crates in high-tier areas
- Event Required: ✅ Storm condition recommended
45. 💣 Deadline Mine
- Where: Random drop
- Best Spots: Dam Battlegrounds Testing Annex & Blue Gate underground breach rooms
- Event Required: ❌ None
46. 💣 Seeker Grenade
- Where: Random drop
- Best Spots: Buried City Space Travel Night Raid; Stella Montis top-tier rooms
- Event Required: ✅ Night Raid recommended
47. 💣 Tagging Grenade
- Where: Random drop + Trials (Trials-favored)
- Best Spots: Trials reward crates; utility containers in Dam Battlegrounds Testing Annex
- Event Required: ❌ None
48. 💣 Smoke Grenade
- Where: Random drop
- Best Spots: Chemical / utility containers in Buried City Hospital and Blue Gate Pilgrim's Peak interior
- Event Required: ❌ None
49. 💣 Wolfpack
- Where: Random drop — very high value
- Best Spots: Buried City Space Travel Night Raid (same rooms as Tempest), Dam Battlegrounds high-tier caches
- Event Required: ✅ Night Raid strongly recommended
50. 💣 Trailblazer
- Where: Random drop
- Best Spots: Electromagnetic Storm raids on Dam Battlegrounds Ruby Residence; Buried City New District
- Event Required: ❌ None (Storm boosts drop)
51. 💣 Showstopper
- Where: Random drop
- Best Spots: Electromagnetic Storm + Night Raid on Stella Montis Cultural Archives
- Event Required: ✅ Storm + Night Raid recommended
52. 💣 Fireworks Box
- Where: Random drop during Cold Snap only
- Best Spots: Blue Gate & Dam Battlegrounds high-density containers during Cold Snap
- Event Required: ✅ Cold Snap event only
53. 💣 Remote Raider Flare
- Where: Random drop — Cold Snap-favored
- Best Spots: Blue Gate underground & Buried City Space Travel during Cold Snap runs
- Event Required: ✅ Cold Snap recommended
54. 💣 Lure Grenade
- Where: 🎯 Quest reward — "Greasing Her Palms"
- Best Spots: No farming needed — complete the quest
- Event Required: ❌ Quest only
55. 💣 Trigger Nade
- Where: 🎯 Quest reward — "Sparks Fly"
- Best Spots: No farming — complete the quest
- Event Required: ❌ Quest only
⚕️ MEDICAL & SURVIVAL BLUEPRINTS (3)
56. ⚕️ Defibrillator
- Where: Random drop + Trials
- Best Spots: Buried City Hospital all floors; Buried City Space Travel Night Raid (same rooms as Tempest); Dam medical rooms
- Event Required: ✅ Night Raid strongly recommended
57. ⚕️ Vita Shot
- Where: Random drop
- Best Spots: Medical containers — Buried City Hospital, Dam Battlegrounds medical side rooms
- Event Required: ❌ None
58. ⚕️ Vita Spray
- Where: Random drop + Trials
- Best Spots: Buried City Hospital Night Raid; Dam Battlegrounds Testing Annex medical rooms
- Event Required: ✅ Night Raid recommended
⚙️ MATERIALS & COMPONENTS BLUEPRINTS (4)
59. ⚙️ Light Gun Parts
- Where: Random drop
- Best Spots: Blue Gate Village lockers; Buried City Santa Maria houses
- Event Required: ❌ None
60. ⚙️ Medium Gun Parts
- Where: Random drop
- Best Spots: Dam Battlegrounds Testing Annex; Spaceport Arrival Building weapon cases
- Event Required: ❌ None
61. ⚙️ Heavy Gun Parts
- Where: Random drop + Trials
- Best Spots: Dam Hidden Broken Bridge cache; Stella Montis Cultural Archives
- Event Required: ❌ None
62. ⚙️ Complex Gun Parts
- Where: Random drop — high rarity
- Best Spots: Stella Montis top-tier rooms; Dam Battlegrounds key breach rooms
- Event Required: ✅ Night Raid / Storm strongly recommended
🦾 AUGMENT BLUEPRINTS (9)
63. 🦾 Looting Augment Mk.1
- Where: Random drop, any map
- Best Spots: Blue Gate underground; Buried City Library apartments Night Raid
- Event Required: ❌ None
64. 🦾 Looting Augment Mk.2
- Where: Random drop
- Best Spots: Dam Battlegrounds Testing Annex; Blue Gate Confiscation Room; Buried City Plaza Rosa
- Event Required: ❌ None
65. 🦾 Looting Augment Mk.3
- Where: Random drop — high rarity
- Best Spots: Stella Montis Assembly Workshops & Cultural Archives; Dam Battlegrounds Electromagnetic Storm Night Raid
- Event Required: ✅ Storm + Night Raid recommended
66. 🦾 Combat Augment Mk.1
- Where: Random drop
- Best Spots: Blue Gate tunnels; Buried City Library basement
- Event Required: ❌ None
67. 🦾 Combat Augment Mk.2
- Where: Random drop
- Best Spots: Dam Battlegrounds Ruby Residence; Buried City Plaza Rosa
- Event Required: ❌ None
68. 🦾 Combat Augment Mk.3
- Where: Random drop — high rarity
- Best Spots: Stella Montis Night Raid top floors; Blue Gate underground breach room
- Event Required: ✅ Night Raid recommended
69. 🦾 Tactical Augment Mk.1
- Where: Random drop
- Best Spots: Blue Gate Village; Buried City East Housing
- Event Required: ❌ None
70. 🦾 Tactical Augment Mk.2
- Where: Random drop
- Best Spots: Dam Battlegrounds Ruby Residence; Spaceport Arrival Building
- Event Required: ❌ None
71. 🦾 Tactical Augment Mk.3
- Where: Random drop — high rarity
- Best Spots: Buried City Space Travel Night Raid; Stella Montis Cultural Archives; Dam Battlegrounds Storm raids
- Event Required: ✅ Night Raid + Storm recommended
🔦 LIGHT STICKS BLUEPRINTS (4)
72. 🔦 Blue Light Stick
- Where: Random drop, any map
- Best Spots: Residential containers anywhere — suitcases, wardrobes, trash cans in Blue Gate Village
- Event Required: ❌ None
73. 🔦 Green Light Stick
- Where: Random drop, any map
- Best Spots: Same as Blue — Buried City East Housing, Blue Gate Village residential zones
- Event Required: ❌ None
74. 🔦 Red / Yellow Light Stick
- Where: Random drop, any map
- Best Spots: Any residential POI — fastest early-game drops
- Event Required: ❌ None
✅ Complete Blueprint Checklist
#BlueprintCategoryEvent?1 | Anvil | 🔫 Weapon | ❌
2 | Aphelion | 🔫 Weapon | ✅ Matriarch / Night
3 | Bettina | 🔫 Weapon | ❌
4 | Bobcat | 🔫 Weapon | ✅ Locked Gate
5 | Burletta | 🔫 Weapon | ❌ Quest
6 | Equalizer | 🔫 Weapon | ✅ Harvester
7 | Hullcracker | 🔫 Weapon | ❌ Quest
8 | Il Toro | 🔫 Weapon | ❌
9 | Jupiter | 🔫 Weapon | ✅ Harvester / Trial
10 | Osprey | 🔫 Weapon | ❌
11 | Tempest | 🔫 Weapon | ✅ Night Raid
12 | Torrente | 🔫 Weapon | ❌
13 | Venator | 🔫 Weapon | ❌
14 | Vulcano | 🔫 Weapon | ✅ Hidden Bunker
15 | Angled Grip II | 🛠️ Mod | ❌
16 | Angled Grip III | 🛠️ Mod | ❌
17 | Vertical Grip II | 🛠️ Mod | ❌
18 | Vertical Grip III | 🛠️ Mod | ❌
19 | Compensator II | 🛠️ Mod | ❌
20 | Compensator III | 🛠️ Mod | ❌
21 | Muzzle Brake II | 🛠️ Mod | ❌
22 | Muzzle Brake III | 🛠️ Mod | ❌
23 | Stable Stock II | 🛠️ Mod | ❌
24 | Stable Stock III | 🛠️ Mod | ❌
25 | Lightweight Stock | 🛠️ Mod | ❌
26 | Padded Stock | 🛠️ Mod | ❌
27 | Silencer I | 🛠️ Mod | ❌
28 | Silencer II | 🛠️ Mod | ❌
29 | Shotgun Choke II | 🛠️ Mod | ❌
30 | Shotgun Choke III | 🛠️ Mod | ❌
31 | Shotgun Silencer | 🛠️ Mod | ✅ Cold Snap / Storm
32 | Extended Light Mag II | 🛠️ Mod | ❌
33 | Extended Light Mag III | 🛠️ Mod | ❌
34 | Extended Medium Mag II | 🛠️ Mod | ❌
35 | Extended Medium Mag III | 🛠️ Mod | ❌
36 | Extended Shotgun Mag II | 🛠️ Mod | ❌
37 | Extended Shotgun Mag III | 🛠️ Mod | ❌
38 | Extended Barrel | 🛠️ Mod | ❌
39 | Anvil Splitter | 🛠️ Legendary Mod | ✅ Storm + Night
40 | Blaze Grenade | 💣 Grenade | ❌
41 | Explosive Mine | 💣 Mine | ❌
42 | Gas Mine | 💣 Mine | ❌
43 | Pulse Mine | 💣 Mine | ❌
44 | Jolt Mine | 💣 Mine | ✅ Storm
45 | Deadline Mine | 💣 Mine | ❌
46 | Seeker Grenade | 💣 Grenade | ✅ Night Raid
47 | Tagging Grenade | 💣 Grenade | ❌
48 | Smoke Grenade | 💣 Grenade | ❌
49 | Wolfpack | 💣 Grenade | ✅ Night Raid
50 | Trailblazer | 💣 Grenade | ❌
51 | Showstopper | 💣 Grenade | ✅ Storm + Night
52 | Fireworks Box | 💣 Utility | ✅ Cold Snap only
53 | Remote Raider Flare | 💣 Utility | ✅ Cold Snap
54 | Lure Grenade | 💣 Grenade | ❌ Quest
55 | Trigger Nade | 💣 Grenade | ❌ Quest
56 | Defibrillator | ⚕️ Medical | ✅ Night Raid
57 | Vita Shot | ⚕️ Medical | ❌
58 | Vita Spray | ⚕️ Medical | ✅ Night Raid
59 | Light Gun Parts | ⚙️ Material | ❌
60 | Medium Gun Parts | ⚙️ Material | ❌
61 | Heavy Gun Parts | ⚙️ Material | ❌
62 | Complex Gun Parts | ⚙️ Material | ✅ Storm + Night
63 | Looting Augment Mk.1 | 🦾 Augment | ❌
64 | Looting Augment Mk.2 | 🦾 Augment | ❌
65 | Looting Augment Mk.3 | 🦾 Augment | ✅ Storm + Night
66 | Combat Augment Mk.1 | 🦾 Augment | ❌
67 | Combat Augment Mk.2 | 🦾 Augment | ❌
68 | Combat Augment Mk.3 | 🦾 Augment | ✅ Night Raid
69 | Tactical Augment Mk.1 | 🦾 Augment | ❌
70 | Tactical Augment Mk.2 | 🦾 Augment | ❌
71 | Tactical Augment Mk.3 | 🦾 Augment | ✅ Storm + Night
72 | Blue Light Stick | 🔦 Light Stick | ❌
73 | Green Light Stick | 🔦 Light Stick | ❌
74 | Red / Yellow Light Stick | 🔦 Light Stick | ❌
🏁 Final Thoughts: Your Blueprint Farming Strategy
Getting all 74 blueprints is one of the most satisfying long-term goals in ARC Raiders — but only if you approach it smart. Here's a simple 3-step plan:
- Do the quests first — Burletta, Hullcracker, Lure Grenade, and Trigger Nade are free and don't require any RNG
- Farm Night Raids on Dam Battlegrounds + Buried City Space Travel for the highest density of random drops per run
- Watch for Electromagnetic Storms and Cold Snap events — they unlock event-exclusive blueprints like Fireworks Box, Shotgun Silencer, and dramatically boost rare drop rates across all categories
The last few blueprints — especially Aphelion, Jupiter, Wolfpack, and the Mk.3 Augments — will take time. But with this list in hand, at least every run has a clear purpose.
Which blueprint took you the longest to find? Are you still missing any of the event-exclusives? Drop your collection progress in the Farfosh comments — the community wants to know! 🎒
Stay tuned to Farfosh Blog for loot route guides, map condition breakdowns, and everything you need to master ARC Raiders in 2026.